
Create your first event
How to create an event with a date, a venue and tickets, check it privately and put it live.
In Eventbuddy, an event is anything you sell tickets for: a concert, a seminar, a trade fair or a whole season. By the end of this article, your event and one ticket are in your shop.
Before you start
You need a role that may create events, for example Admin. Have the title, date, address and ticket price at hand. A 16:9 image is nice but not required.
Create the event
Open a new event
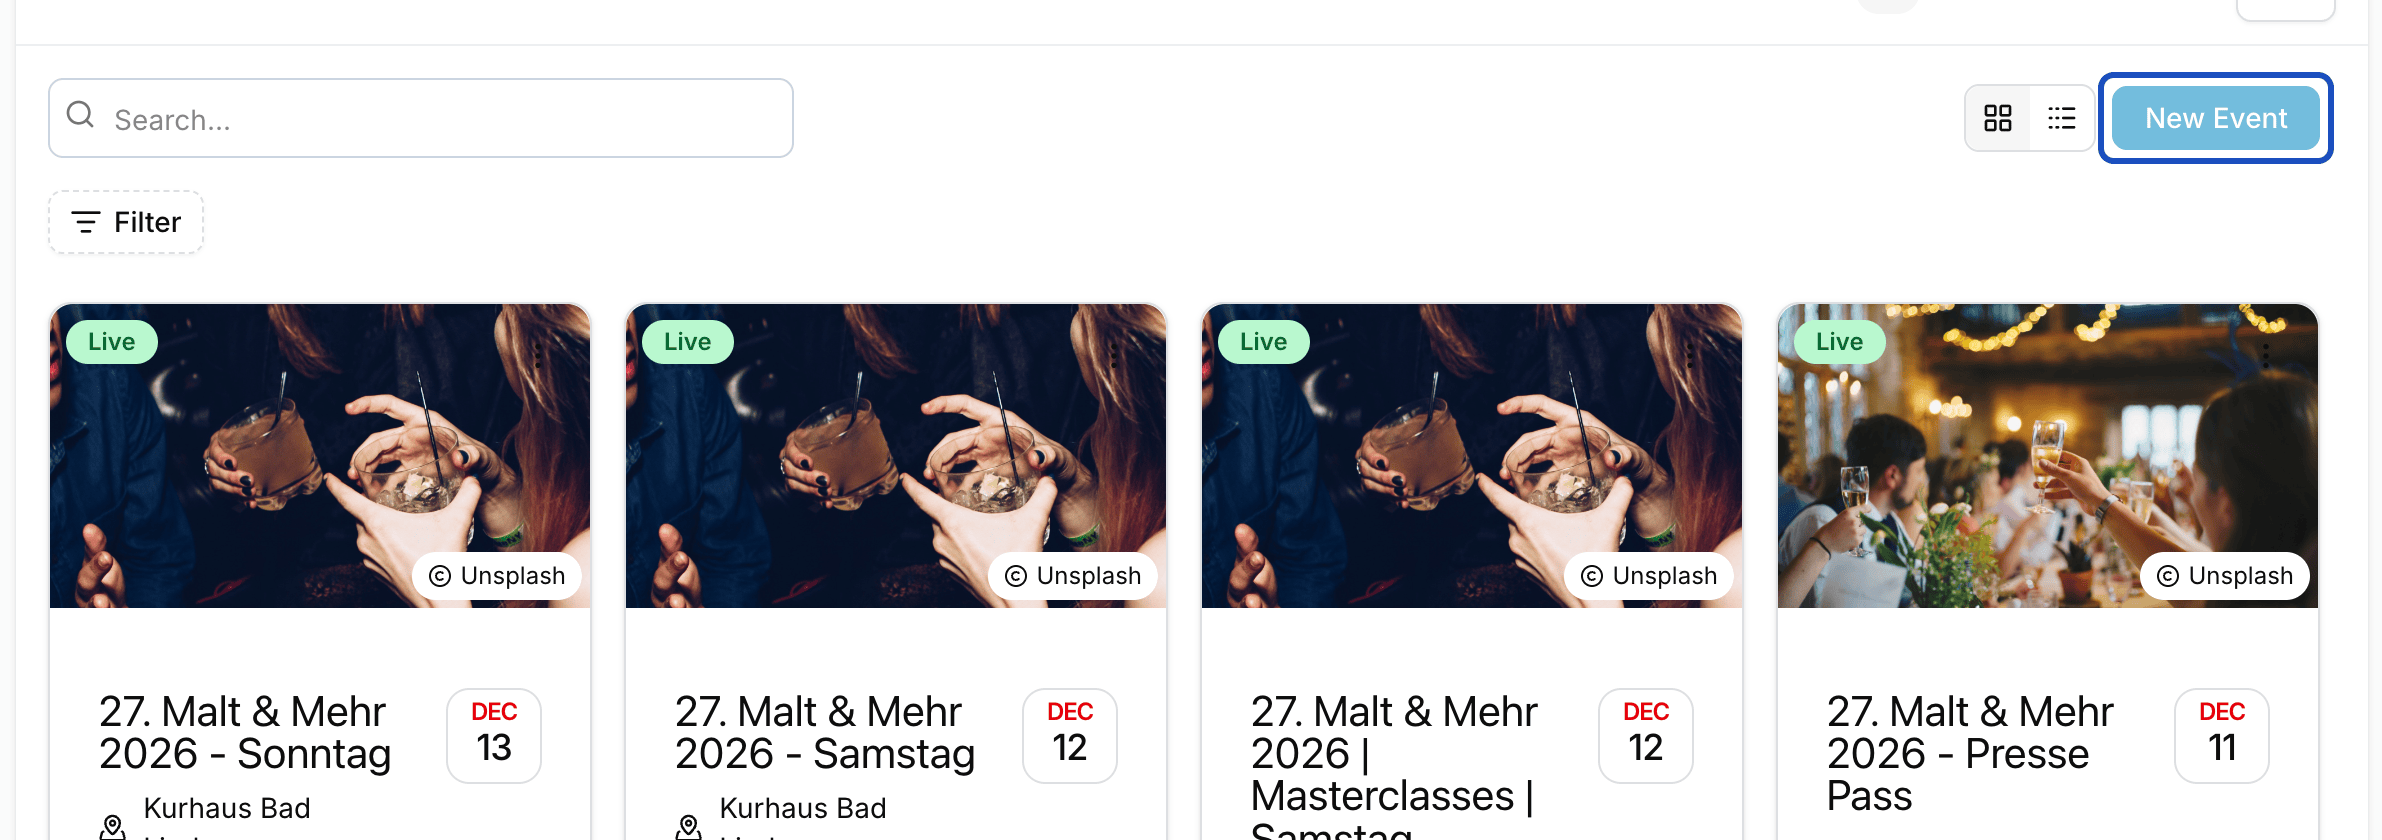
In the sidebar under Sale, click Events and then New Event.
Enter title and schedule
Under General Information, enter the Title, for example "Tasting Night 2027". The URL slug is part of your event page's address. Only lowercase letters, numbers and hyphens are allowed. The Teaser shows in the event overview, the Description on the event page.
Under Schedule, enter Event start and Event end, plus the Start of admission and the end of admission. If your event has no fixed end, leave Event end empty.
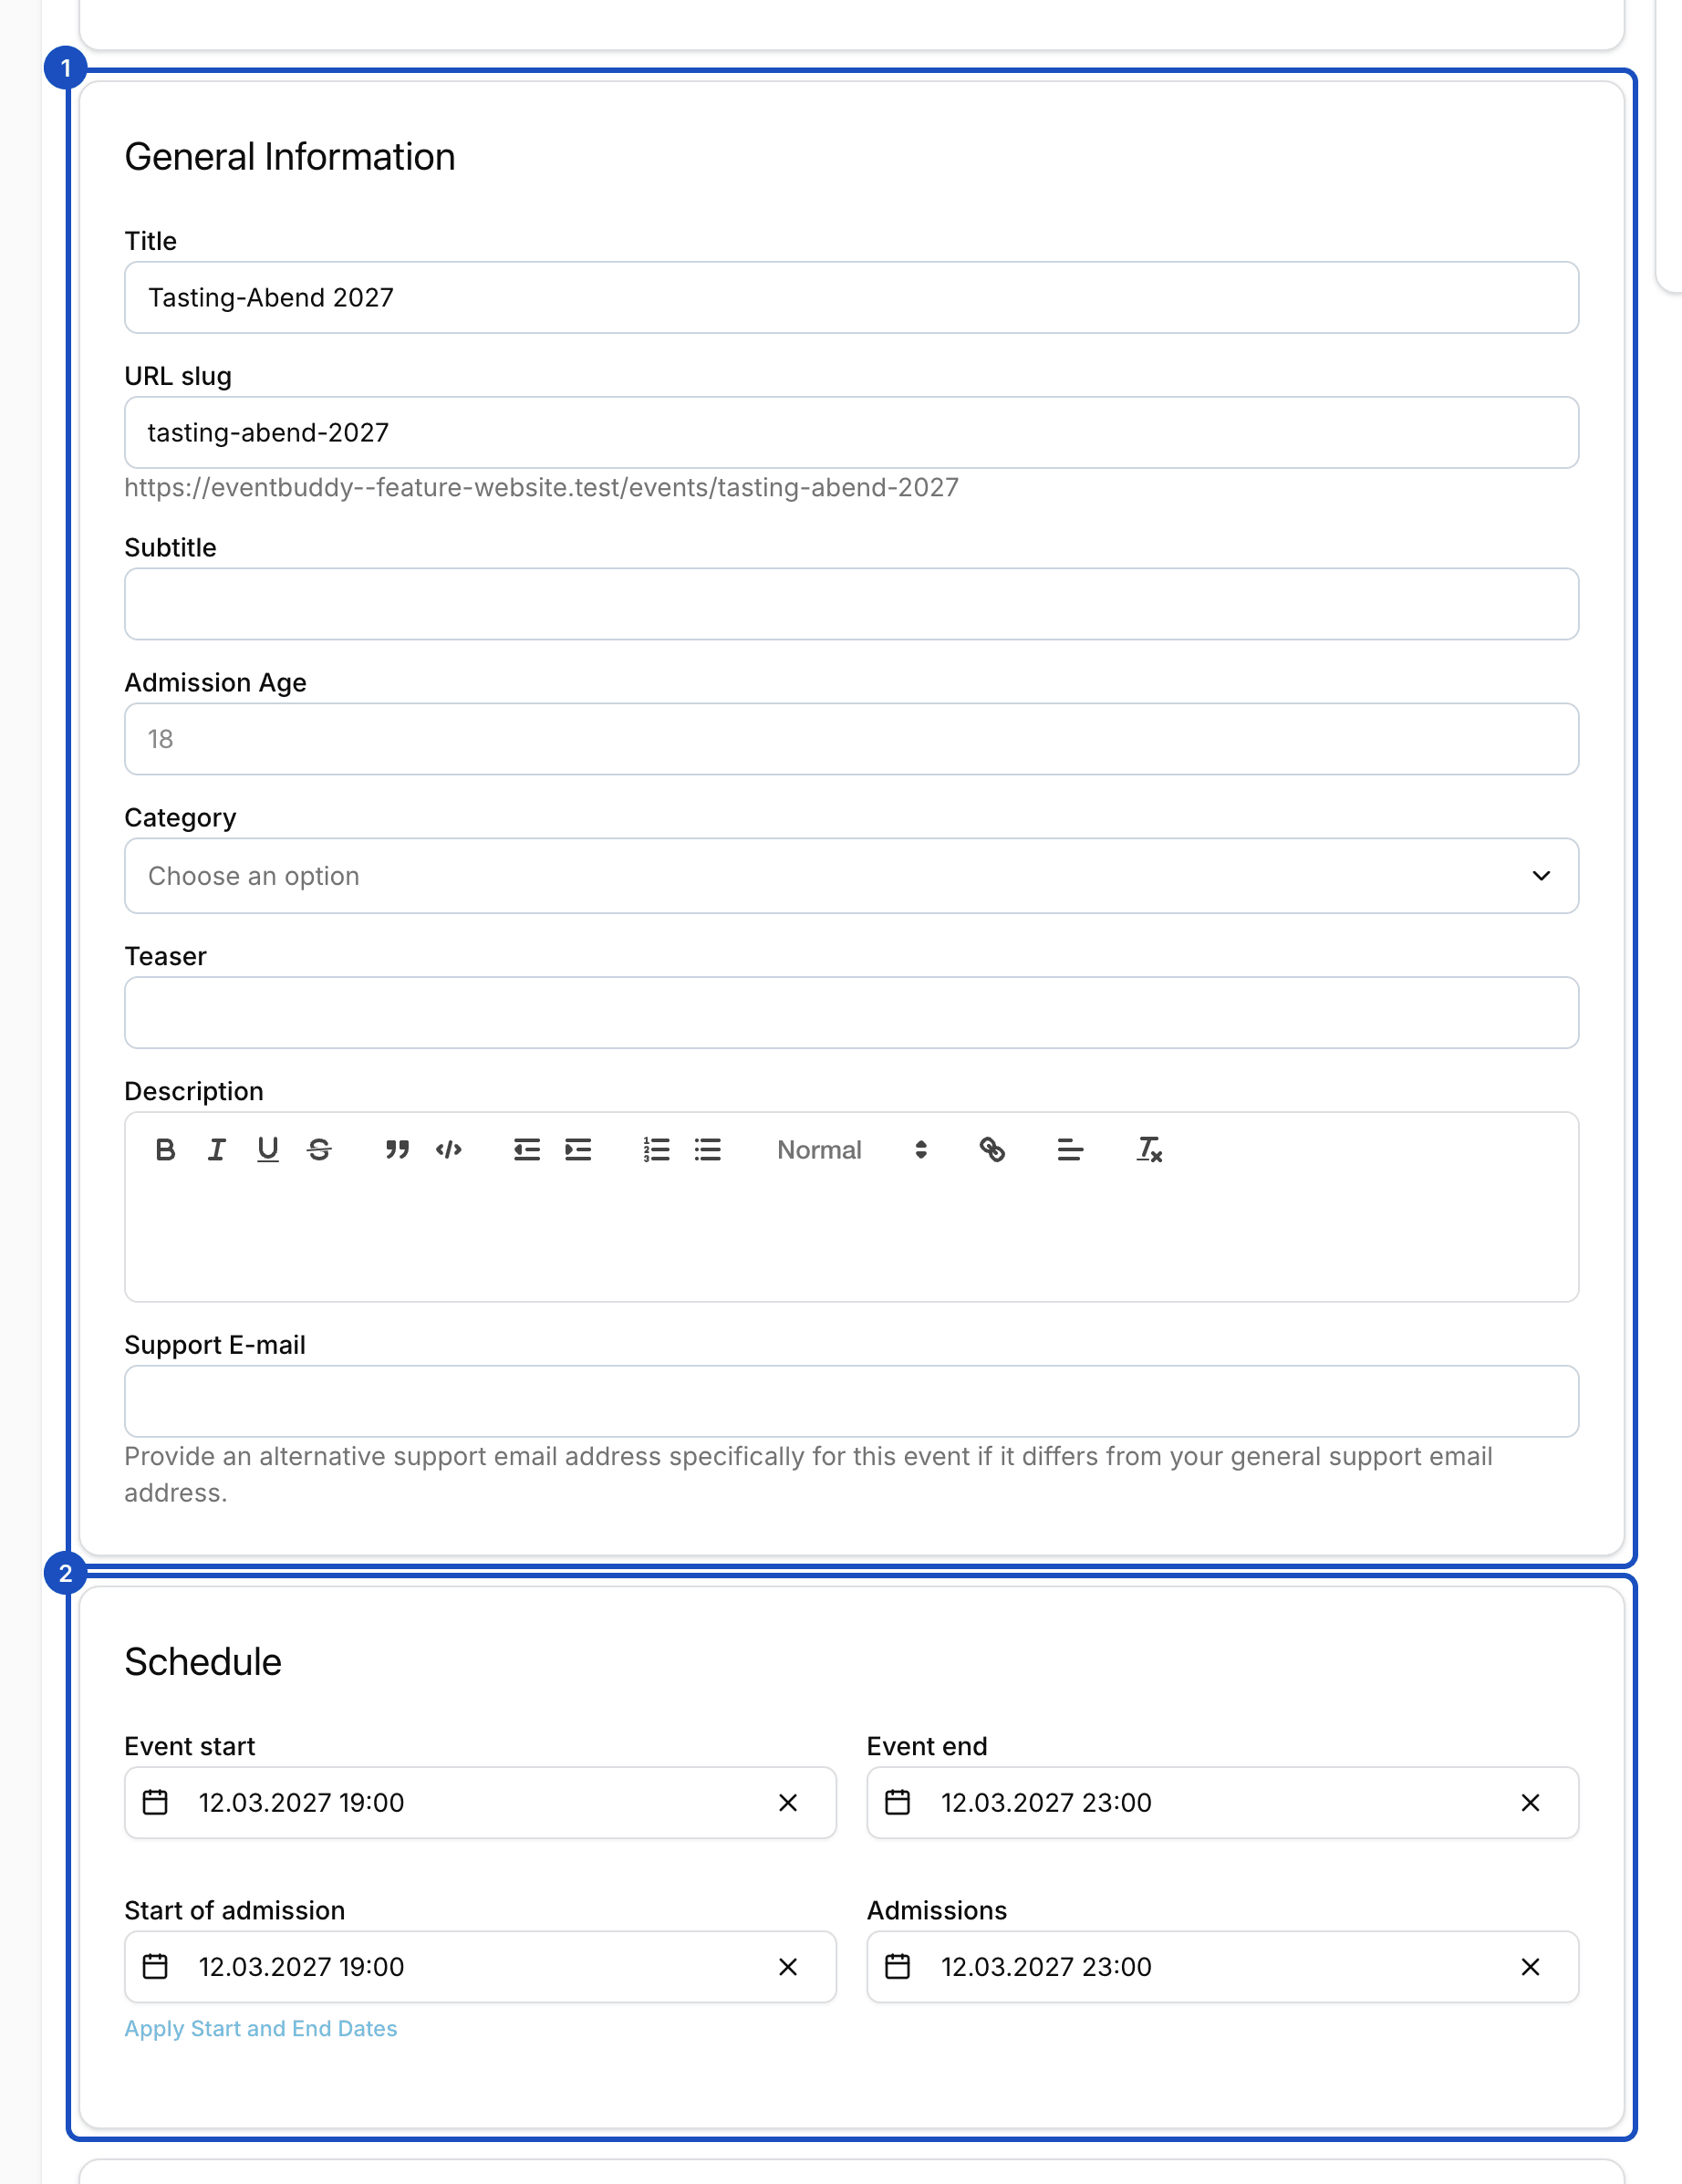
Title (1) and schedule (2) are the frame of every event. Choose a location
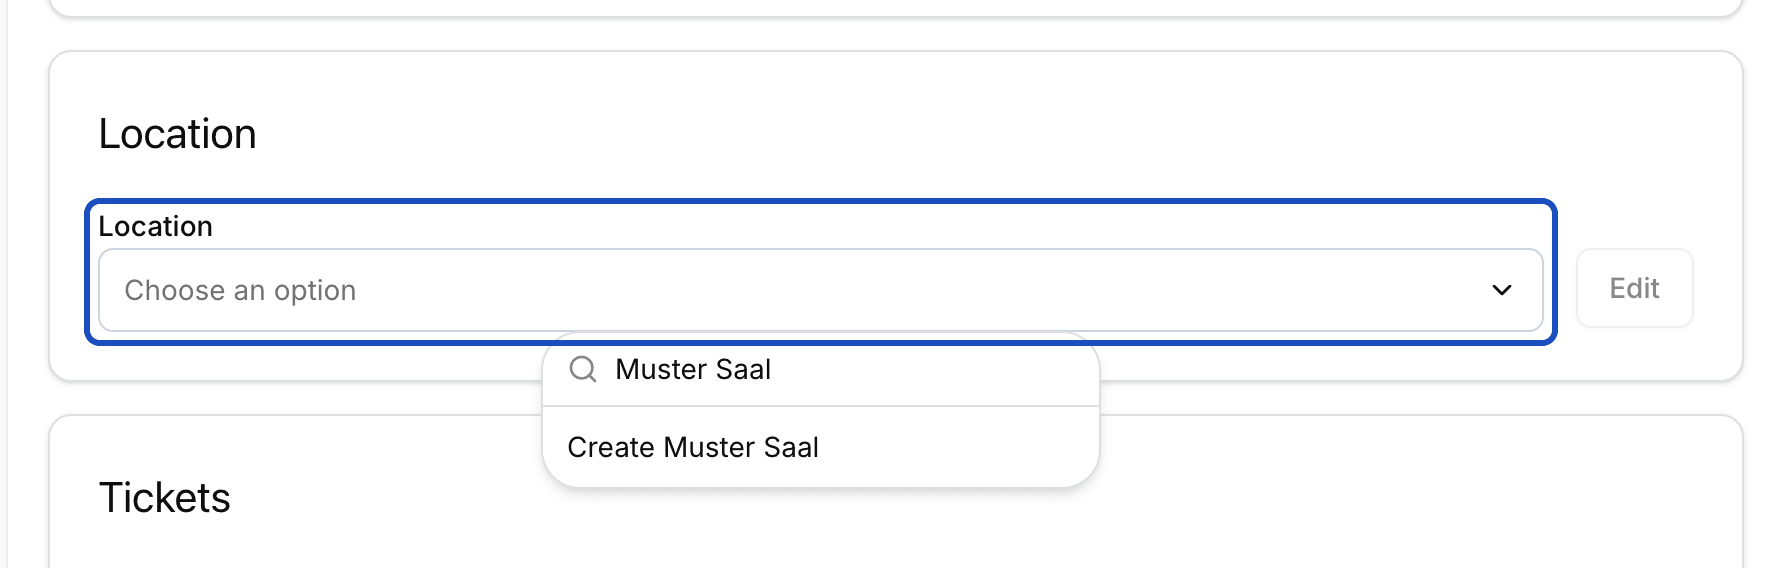
Under Location, choose the venue. If it doesn't exist yet, create it right from the select field. You can't save an event without a location.
Add a ticket
Under Tickets, click Add ticket. Enter Ticket Name, Price and VAT. Under Contingent, set how many tickets there are. Empty means unlimited.
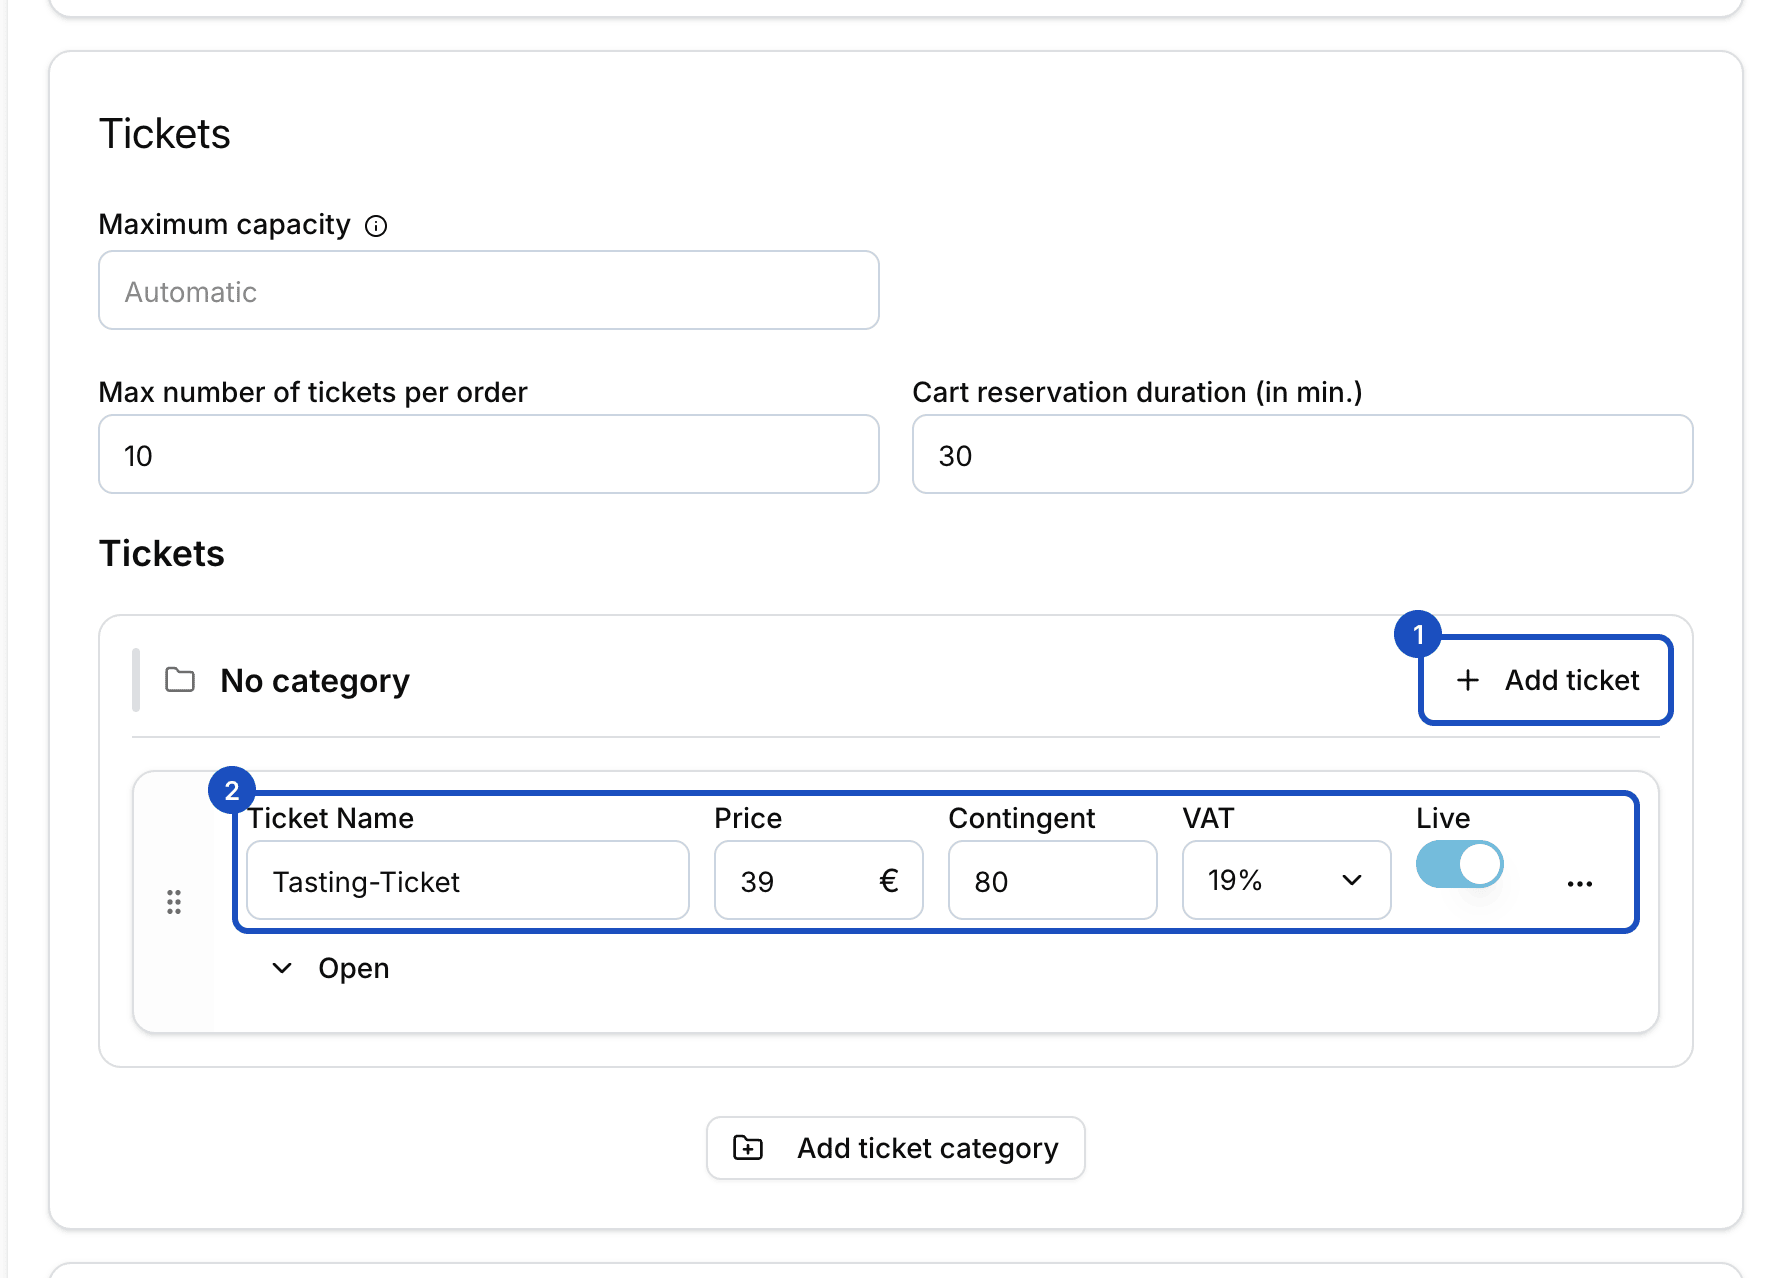
One ticket is enough to start. You can add more ticket types at any time. Check payment methods
Under Payment methods, you see how your guests can pay. Remove what you don't want to offer for this event.
Save
Click Save. Your event now exists, but it isn't visible in your shop yet.
Check it and put it live
Nobody can open an event that isn't live, not even you via its link. To look at it before you announce it, put it live privately first.
Go live privately
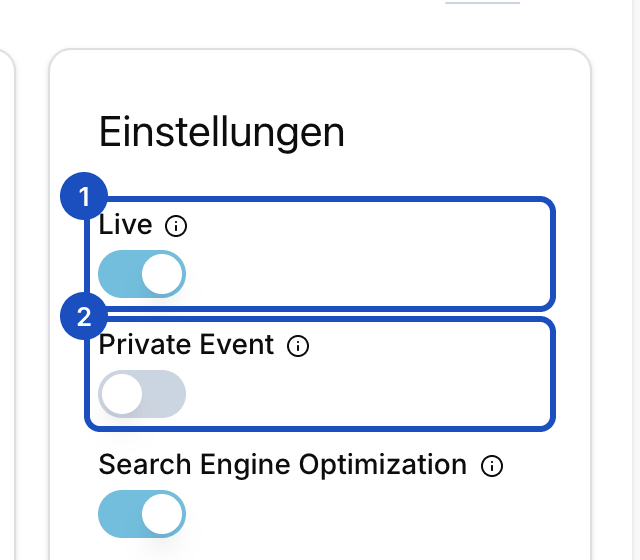
In the settings card on the right, switch on Live and Private Event, then save. The event can now only be reached via its direct link and isn't listed in your event overview.
View the event
In the event list, open the event's menu and click Show. Check texts, date and price the way your guests will see them.
Make it public
If everything is right, switch off Private Event and save. From now on, the event is listed in your shop and tickets can be booked.
Good to know
I have many similar events. Do I have to create each one from scratch?
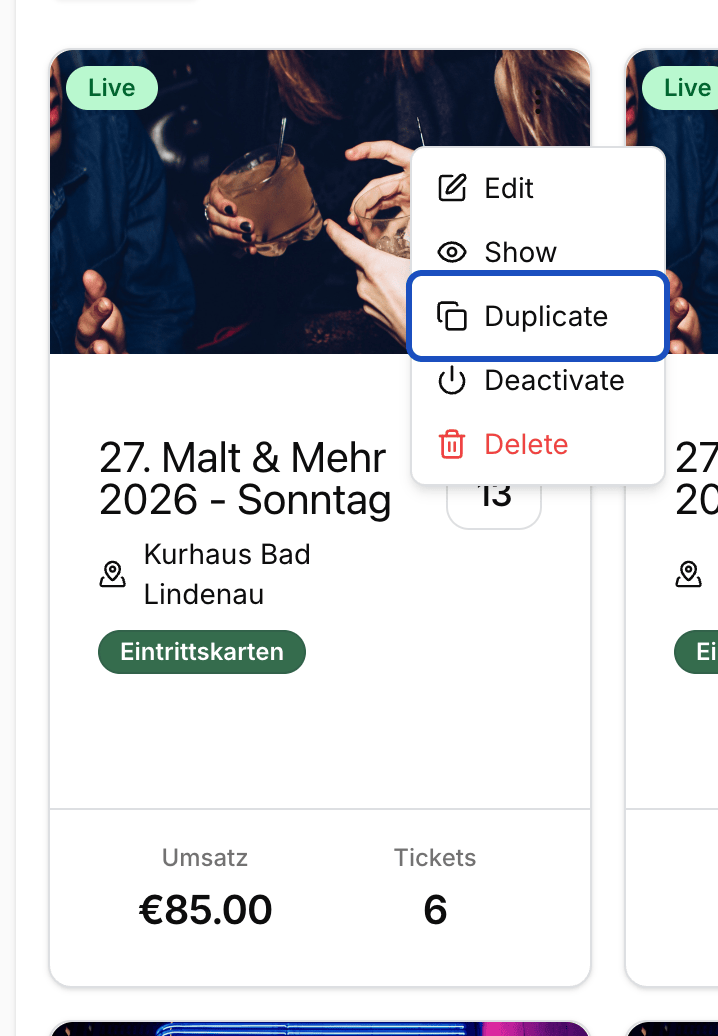
No. In the event list, open an event's menu and click Duplicate. The copy keeps tickets, payment methods, image and opening hours, gets its own URL slug and starts out not live. You only change title and date.
How many guests fit in total?
Under Tickets, there is a Maximum capacity field. If you leave it empty, the capacity follows from the contingents of your tickets. Enter a number when several ticket types share the same places.
Can I take an event off sale again?
Yes. Switch off Live and save. The event page can no longer be reached. Orders and tickets already sold stay valid.