
Set up a seat map
How to create a seat map, link it to an event and assign your tickets to the seat categories.
With a seat map, your guests choose their own seat in the shop. You draw the hall once, divide the seats into categories such as stalls and balcony, and link each category to a ticket and its price.
Before you start
Eventbuddy switches seat maps on for you. Write to us if you want to use seat maps. Until they are switched on, Seat Maps shows a page with a Support kontaktieren (contact support) button.
You also need the location where the hall is and a saved event.
Create the seat map
Create a seat map
In the sidebar under Administration, click Seat Maps and then Create room plan.
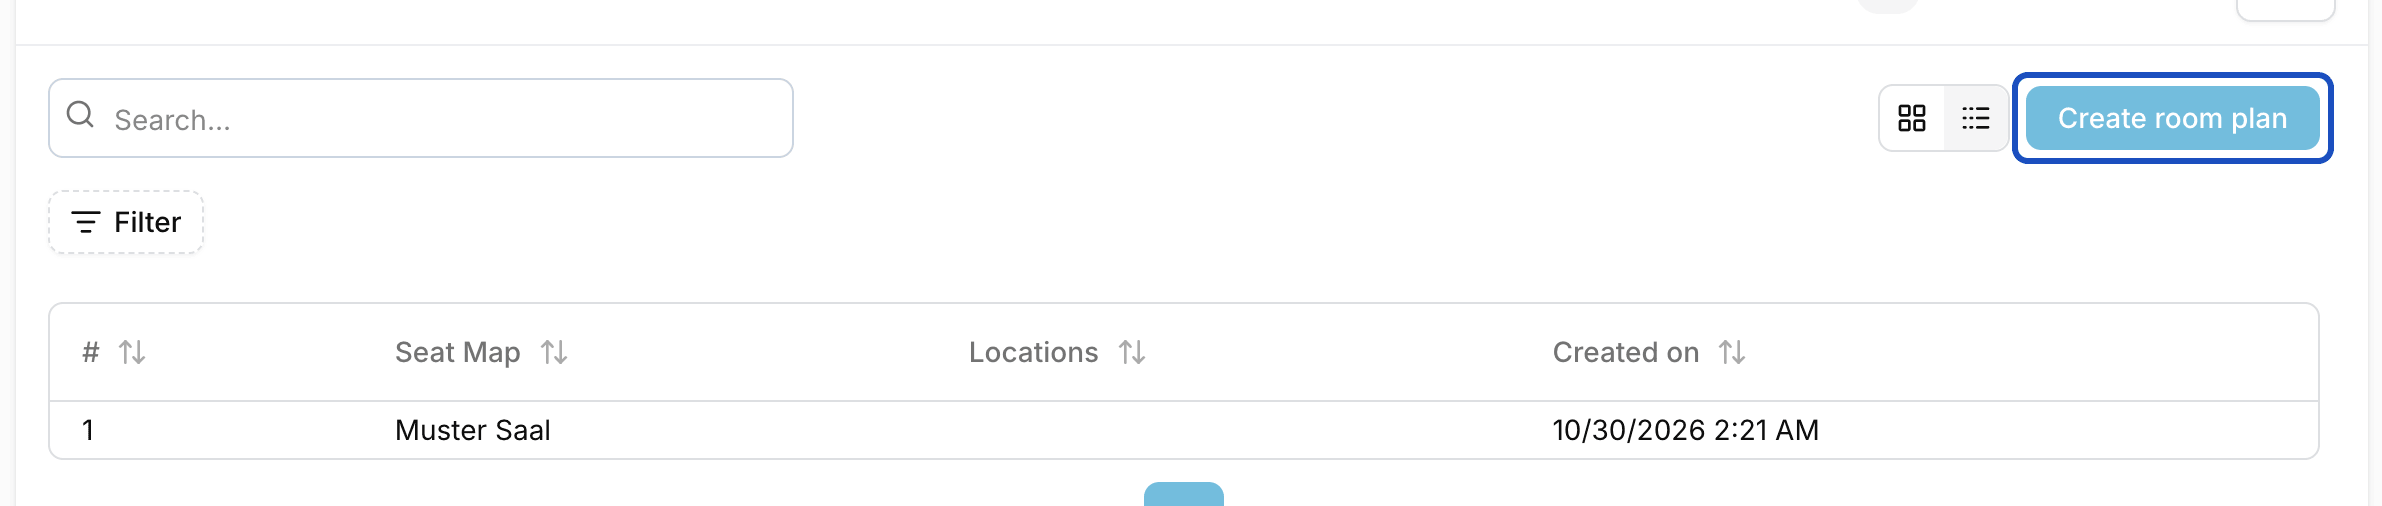
Name, location and categories
Enter a Name, for example "Muster Hall", and choose the Location. Under Ticketkategorien (ticket categories), create the seat categories, for example "Stalls" and "Balcony". You can change them later. Click Save.
Draw the hall
After saving, the editor opens. Draw rows, seats and sections and assign a category to each seat. You change name, location and categories later with Bearbeiten (edit) at the top right.
Link the seat map to an event
Choose the seat map in the event
Open the event for editing. In the Seat Map section, choose your seat map and save.
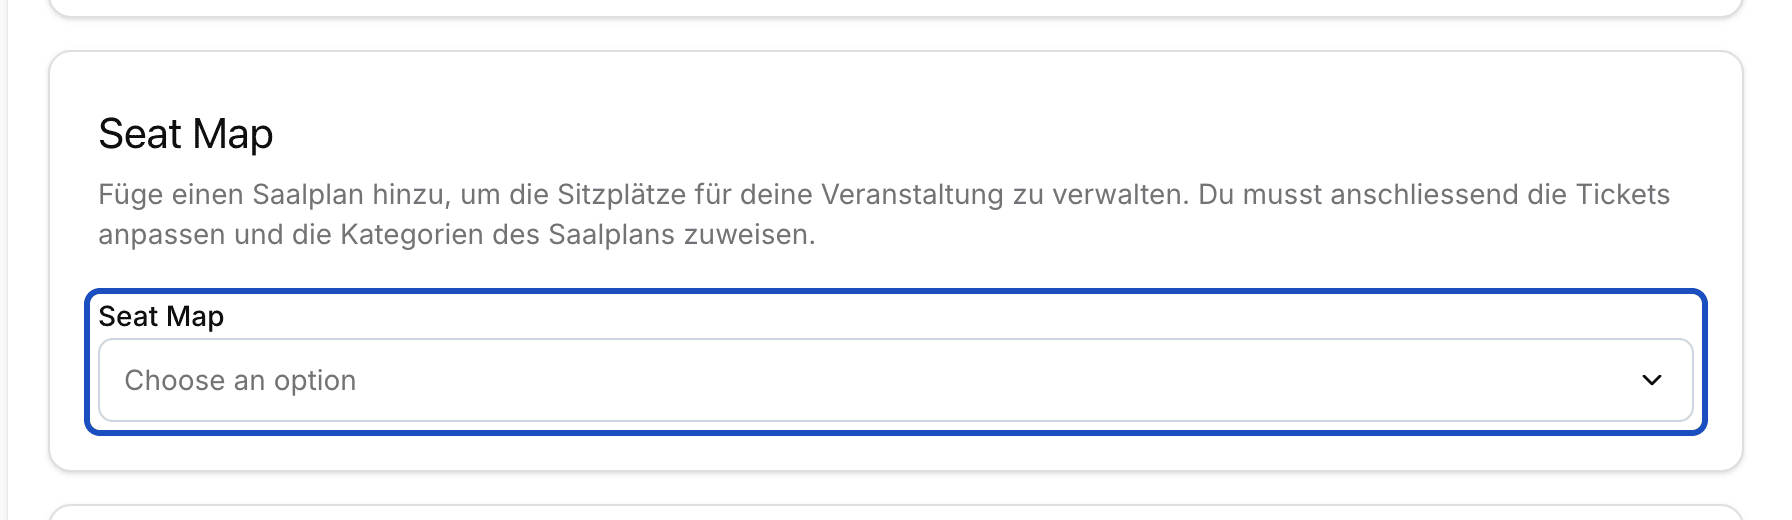
Assign tickets to the categories
On each ticket, click Open and choose the matching category under Sitzplatzkategorie (seat category), for example the ticket "Stalls, 49.00 €" for the category "Stalls". Save the event.
From now on, your guests see the seat map on the event page and pick their seats.
Good to know
Why can't I enter a contingent anymore?
With a seat map, the seats decide how many tickets there are. For tickets with a seat category, the Contingent field therefore says "Seat Map", and the event's Maximum capacity also follows from the seat map.
Can I use one seat map for several events?
Yes. Choose the same seat map in every event that takes place in the same hall. That way you draw the hall only once.