
Scan tickets at the door
How to set up scan lists for your entrances, give your team scanner access and understand what the scanner reports.
At the door you scan tickets in the browser, with the camera of a phone or tablet or with a handheld scanner. Scan lists decide which tickets are valid at which entrance and how often.
Before you start
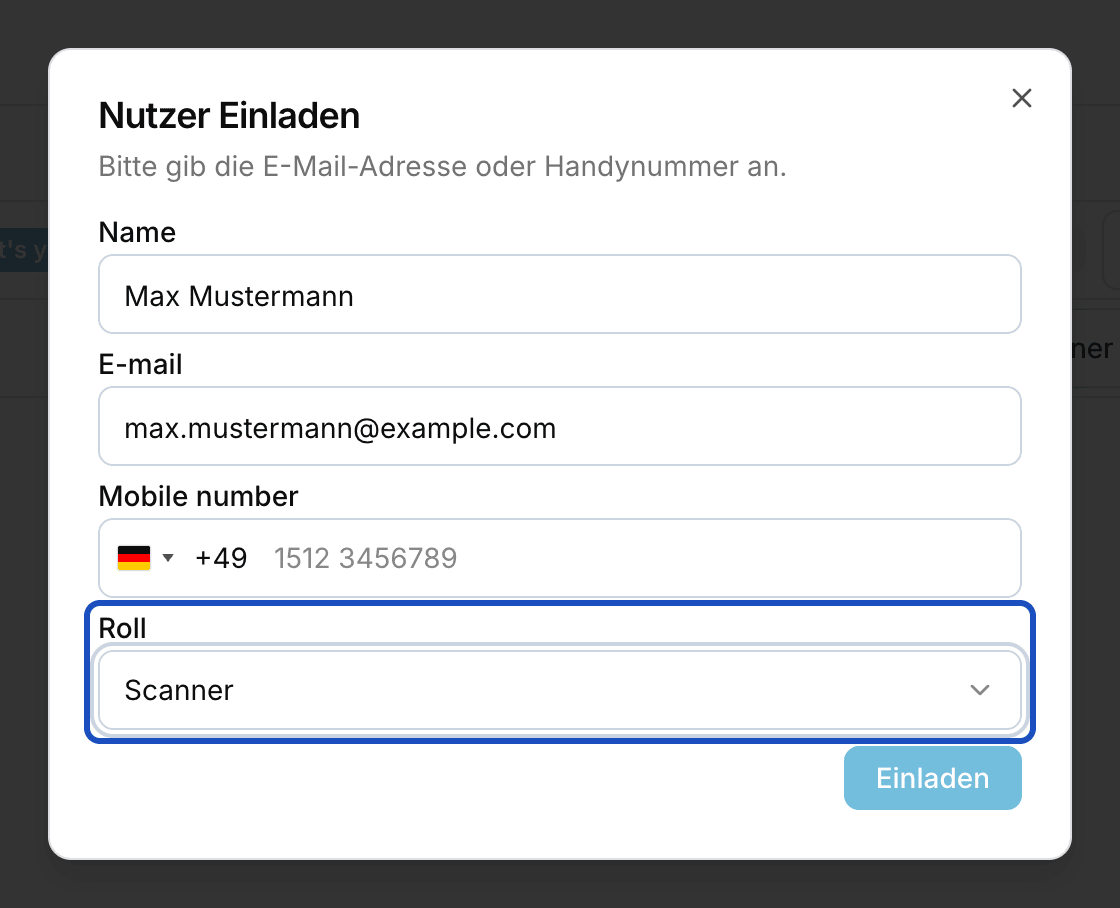
Anyone who scans needs a role that is allowed to scan. For door staff there is the Scanner role: they can scan and view orders and guest lists, but cannot change anything. How to invite someone is explained in Invite your team and assign roles.
Create a scan list
Open Admission
In the sidebar, click Admission under On site. You see all scan lists of your organizer account.
Create the scan list
Click Create scan list. Under Name, enter where the scanning happens, for example "North entrance". The Description is only for your team.
Choose events and ticket types
Under Events, choose which events the list applies to. Under Ticket types, you limit it to certain tickets, for example only VIP at the side entrance. If you leave Ticket types empty, every ticket of the selected events is valid.
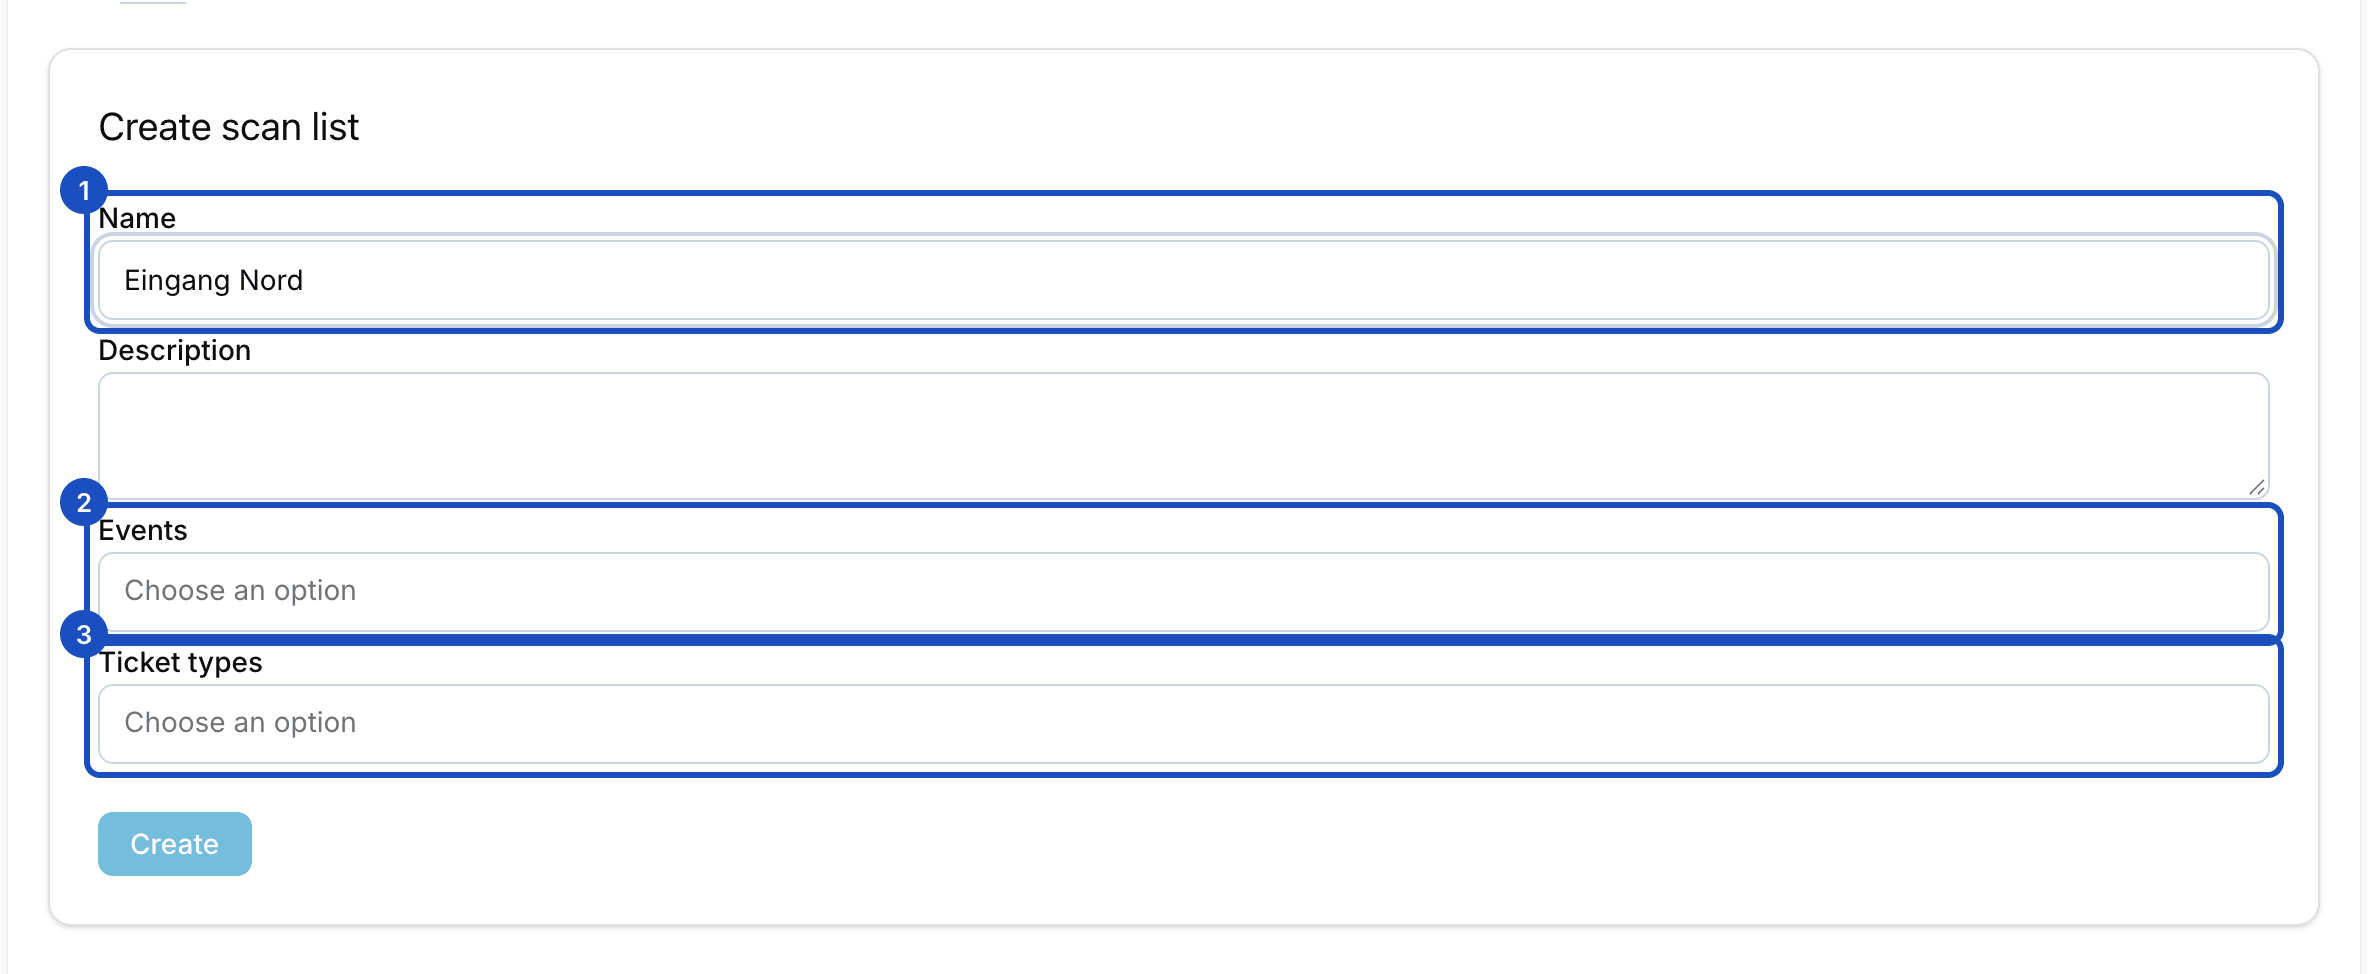
Without a ticket type selection, every ticket of the selected events is valid. Save
Click Create.
Scan
Open the scan list
Under Admission, open the scan list for your entrance. The scanner starts right on the page.
Choose camera or handheld scanner
Under Select camera or scanner, set what you scan with. For a connected handheld scanner, choose Handheld scanner (HID). The device remembers your choice.
Scan a ticket
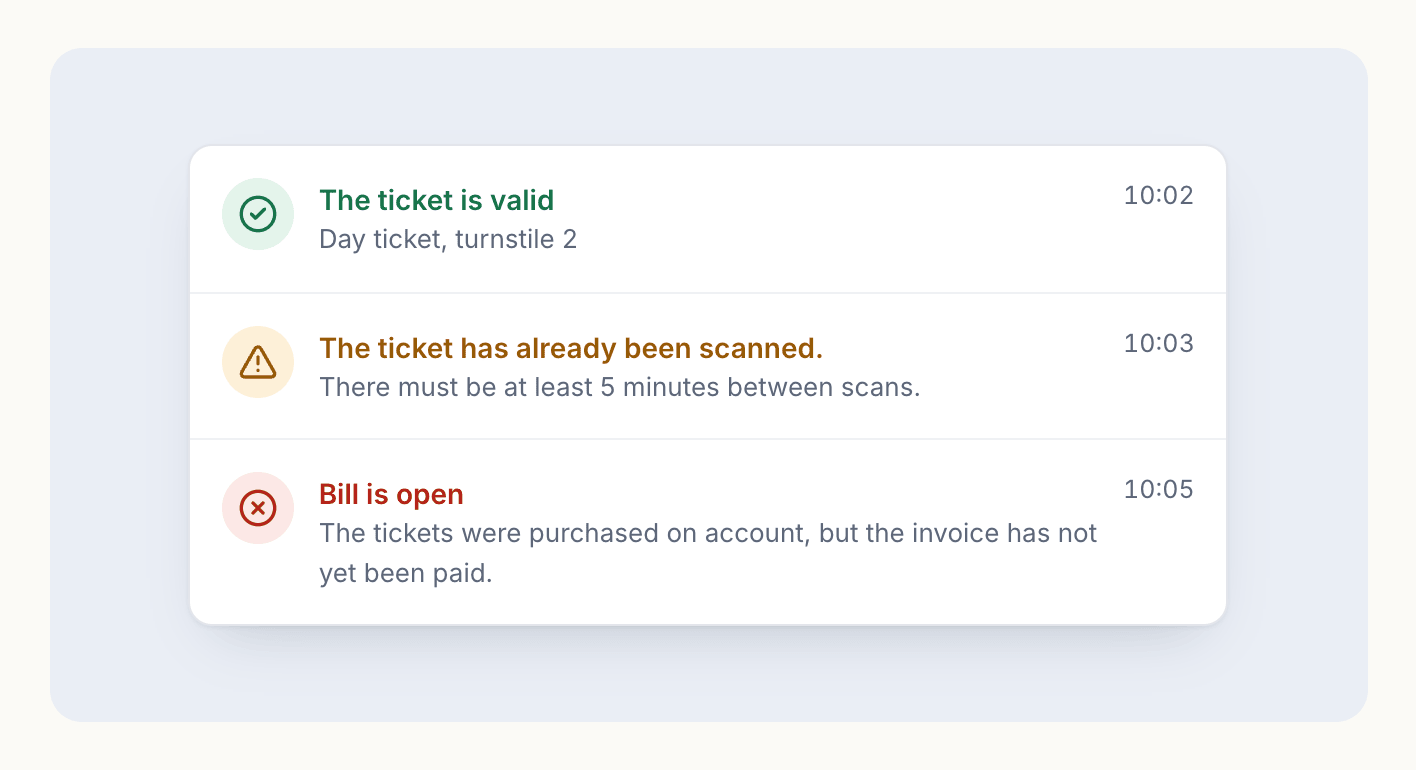
Hold the QR code in front of the camera or scanner. Green means the ticket is valid. For any other result, the scanner shows the reason.
What the scanner reports
| Message | What it means |
|---|---|
| The ticket is valid | Let the guest in. |
| Already scanned by you / Scanned by … | The ticket was already used in this scan list. The scanner shows by whom and when. |
| The ticket is not valid on this day | A day ticket for a different day. |
| The ticket is not yet valid / no longer valid | The scan is outside the ticket's validity or the admission time. |
| All available uses for today have already been utilized | The Maximum uses per day limit is reached. |
| The ticket order was not paid | The payment has not arrived yet. |
| The tickets were purchased on account, but the invoice has not yet been paid. | With pay on account, the invoice is still open. |
| The photo is missing. | The ticket needs a photo, see Photo on annual passes. |
| This ticket has been deactivated and is not valid. | The ticket is no longer valid, for example after a cancellation. |
For most messages you can still let the guest in with Check in anyway. This is not possible for deactivated and unpaid tickets.
Good to know
Can a ticket be scanned at two entrances?
Yes, if they are two scan lists. Eventbuddy counts scans per scan list. For example, you can create one list for admission and one for a workshop, and the ticket is valid once in each. Several devices can use the same scan list at the same time.
How do I give my door staff a note about a ticket?
Enter a Scan hint on the ticket type or on a single ticket, for example "Hand out wristband". The scanner shows it when the ticket is scanned. Guests never see it.
Does the scanner need internet?
Yes. The scanner checks every ticket directly with Eventbuddy. That way every entrance sees right away whether a ticket was already scanned.