
Your login and a first look around
How to accept your invitation, find your way around the sidebar and open your ticket shop.
After logging in, you land in the Eventbuddy admin area. This is where you create events, see orders and set up your shop. This article shows you where everything is.
Before you start
Your access arrives as an invitation by email, from Eventbuddy or from someone on your team. The link in the email is valid for three days. If it has expired, ask the person who invited you for a new invitation.
Log in for the first time
Accept the invitation
Open the link from the invitation. The invitation page is in German for now. If you don't have an account yet, enter your name, a password and optionally your mobile number, then click Konto erstellen & Einladung annehmen (create account and accept). If you already have an Eventbuddy account, you only enter your password.
Log in again later
On the Eventbuddy website, click Login at the top and log in with E-mail and Password. With Stay Logged In, you don't have to log in again every time on this device.
The sidebar
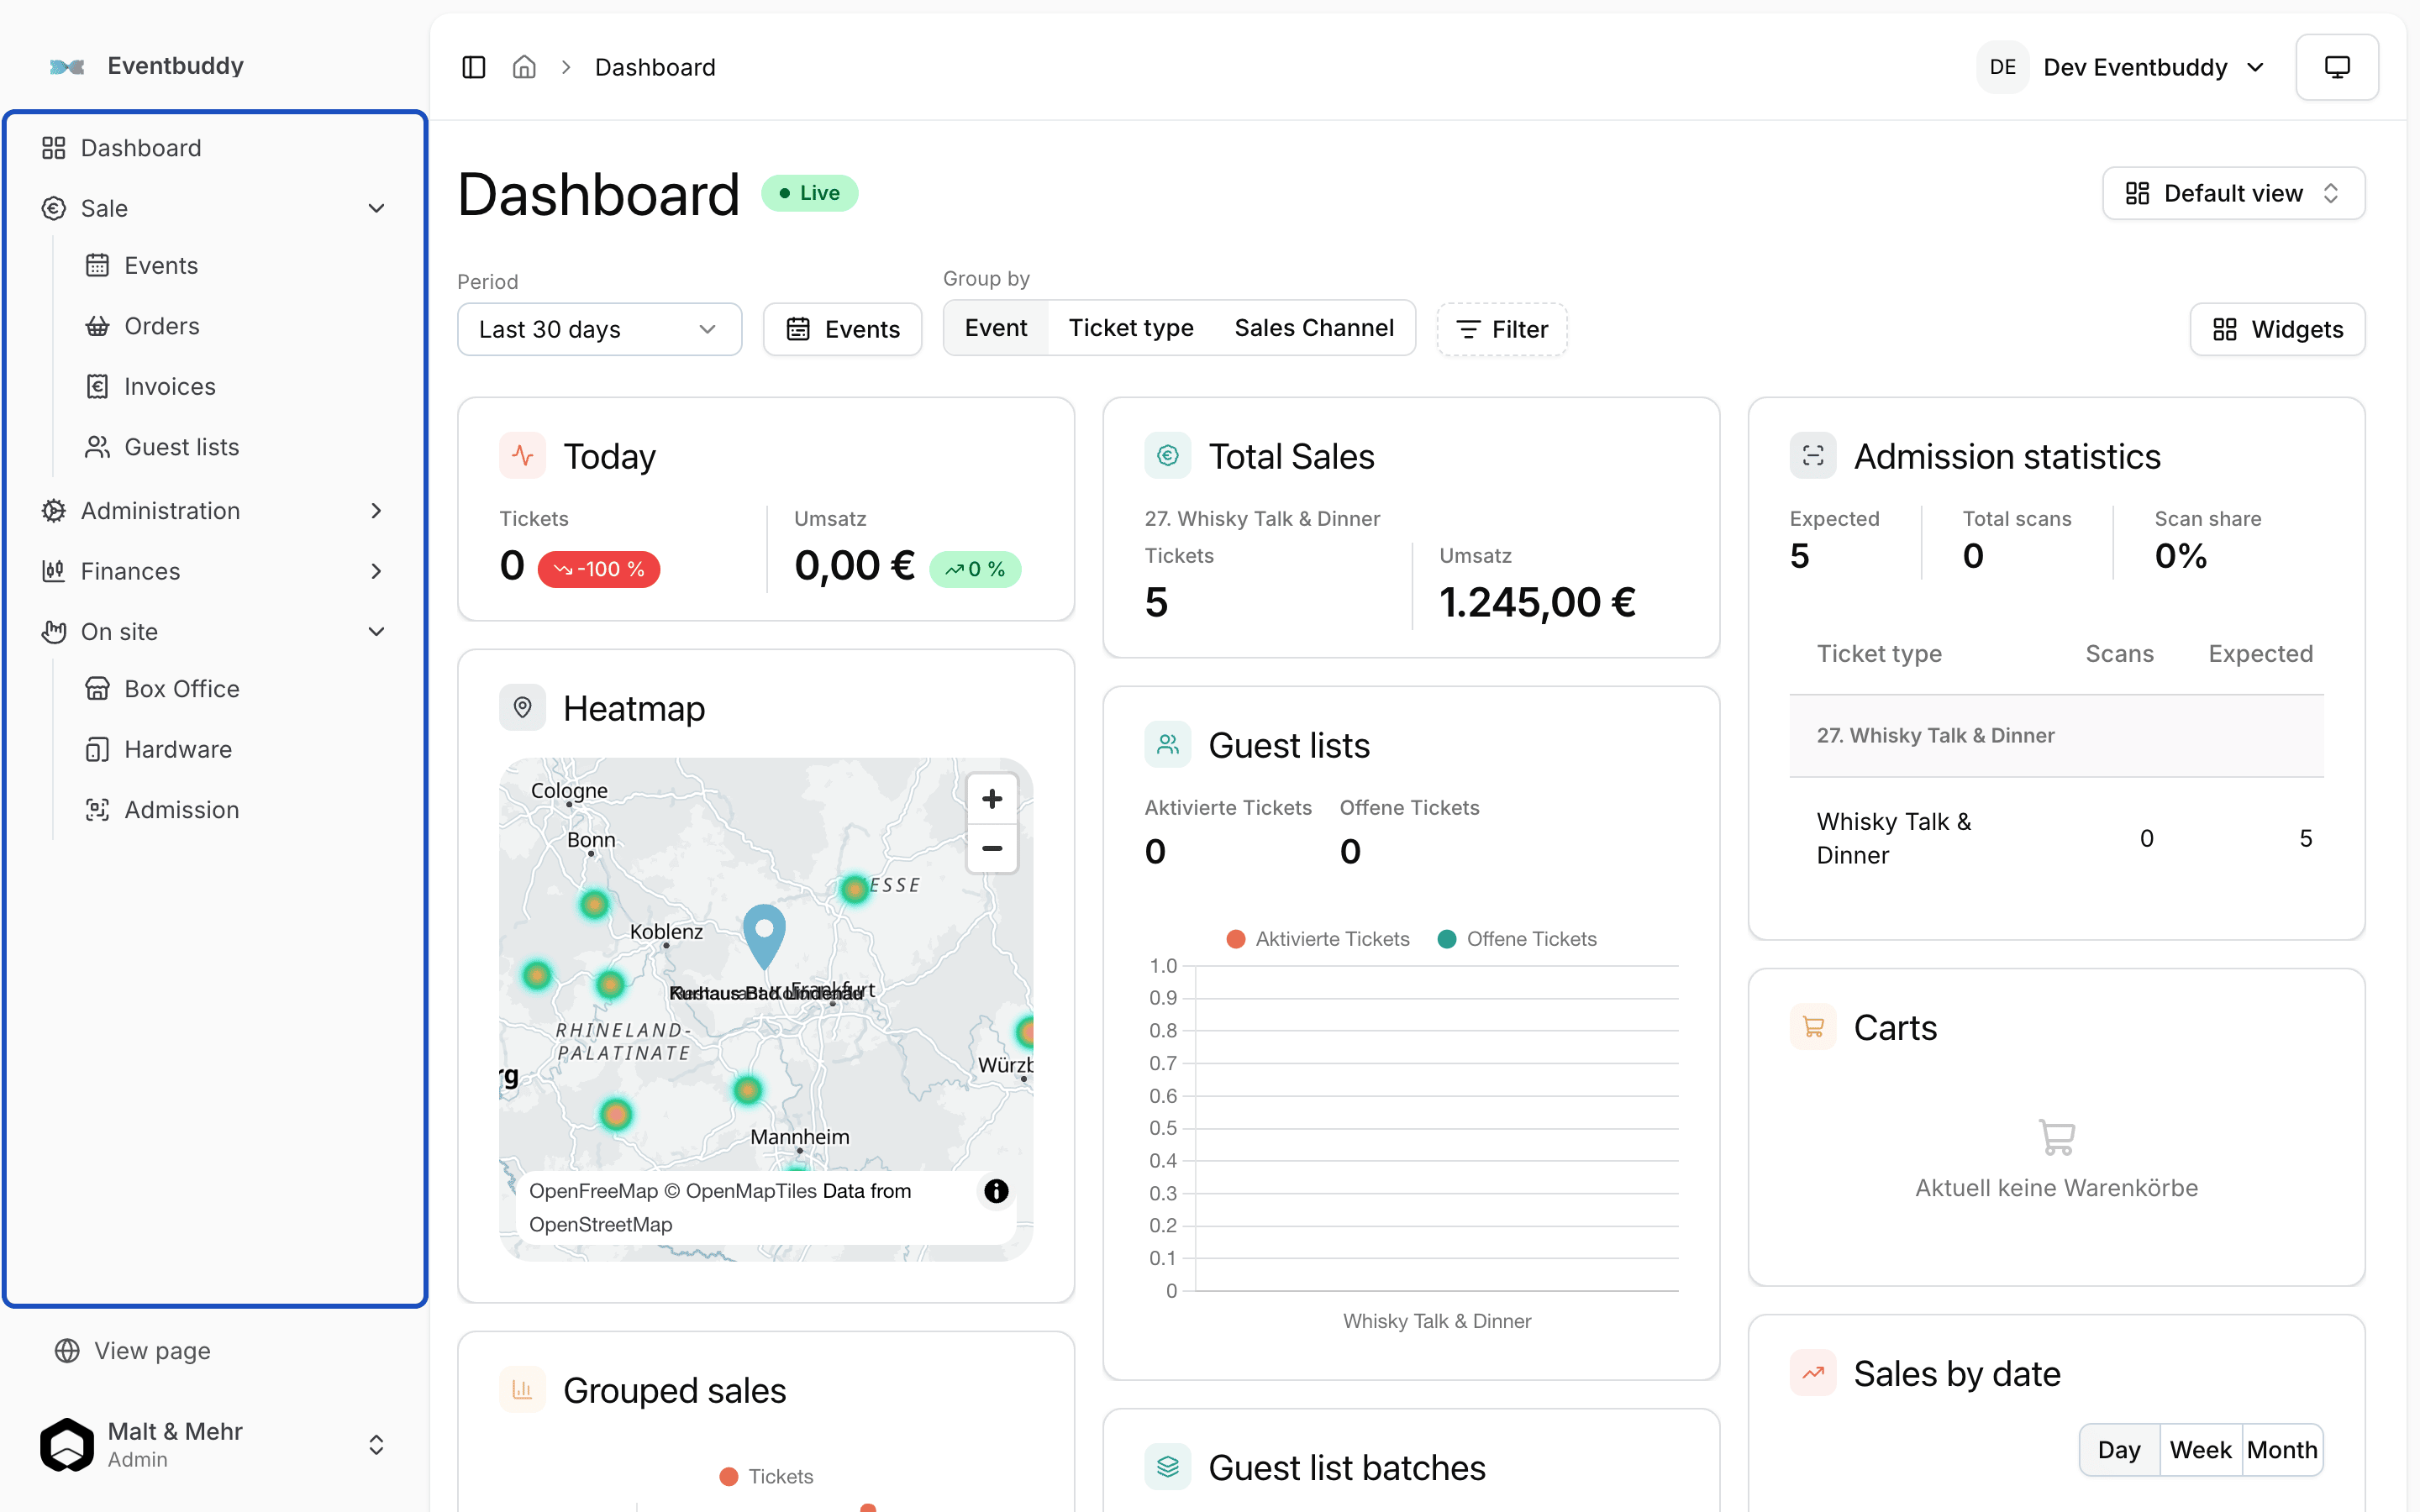
On the left is the sidebar. At the very top is Dashboard with your numbers. Below it are four groups:
- Sale: events, orders, guest lists and, once switched on, invoices.
- Administration: vouchers, customers, forms, seat maps and exports.
- Finances: overview, payments, installment payments and your balance with the payouts.
- On site: Box Office, Hardware and Admission.
Settings and switching organizers
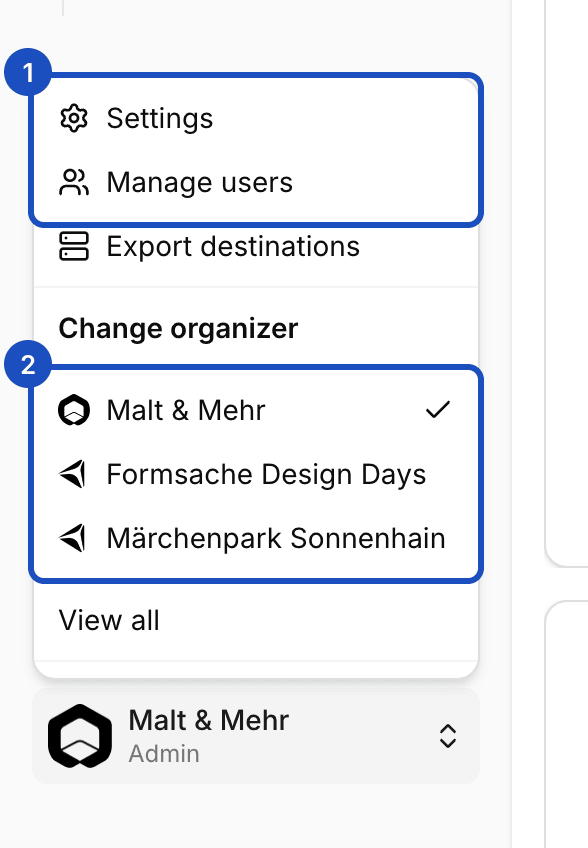
At the bottom of the sidebar is the name of your organizer. Click it to open the menu with Settings for your organizer profile and Manage users for your team.
Below that, under Change organizer, are all organizers you belong to. Click a name, and the admin area shows that organizer's events and orders. The check mark shows which organizer you are working in right now.
View your shop
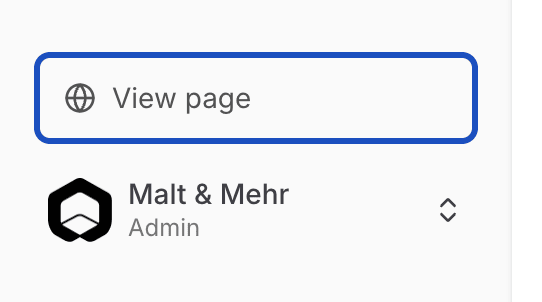
At the bottom of the sidebar, click View page. Your shop page opens with all public events, the way your guests see it.
Good to know
Why can't I see some areas?
What you see in the sidebar depends on your role. With the Scanner role, for example, events and the dashboard are missing. Some areas, such as invoices or subscriptions, are only switched on by Eventbuddy. Write to us if you want to use one of them.
The sidebar says Demo mode. What does that mean?
Your shop isn't public yet. Only members of your team can see it. Orders placed in demo mode are still real: real payments, invoices and emails. To go live, talk to your Eventbuddy contact.
I forgot my password.
On the login page, click Forgot your password? and enter your email address. You get a link to set a new password.