
Set up your organizer profile
How to give your shop a logo, cover picture and description and enter the details for your imprint.
Your organizer profile is the base of your shop. Your guests see the logo, cover picture and description on your shop page. Eventbuddy builds your imprint from your company name, address and register details.
Before you start
You need a role with access to the settings, for example Admin. Have your logo (at least 600 × 600 pixels) and a cover picture (at least 1920 × 1080 pixels) at hand.
Fill in the profile
Open the settings
At the bottom of the sidebar, click the name of your organizer and then Settings. The page has several tabs. You save all of them together at the end.
Upload logo and cover picture
In the General Information tab, upload the Logo and the Cover picture. Below them are Name and URL slug. The URL slug is part of your shop page's address.
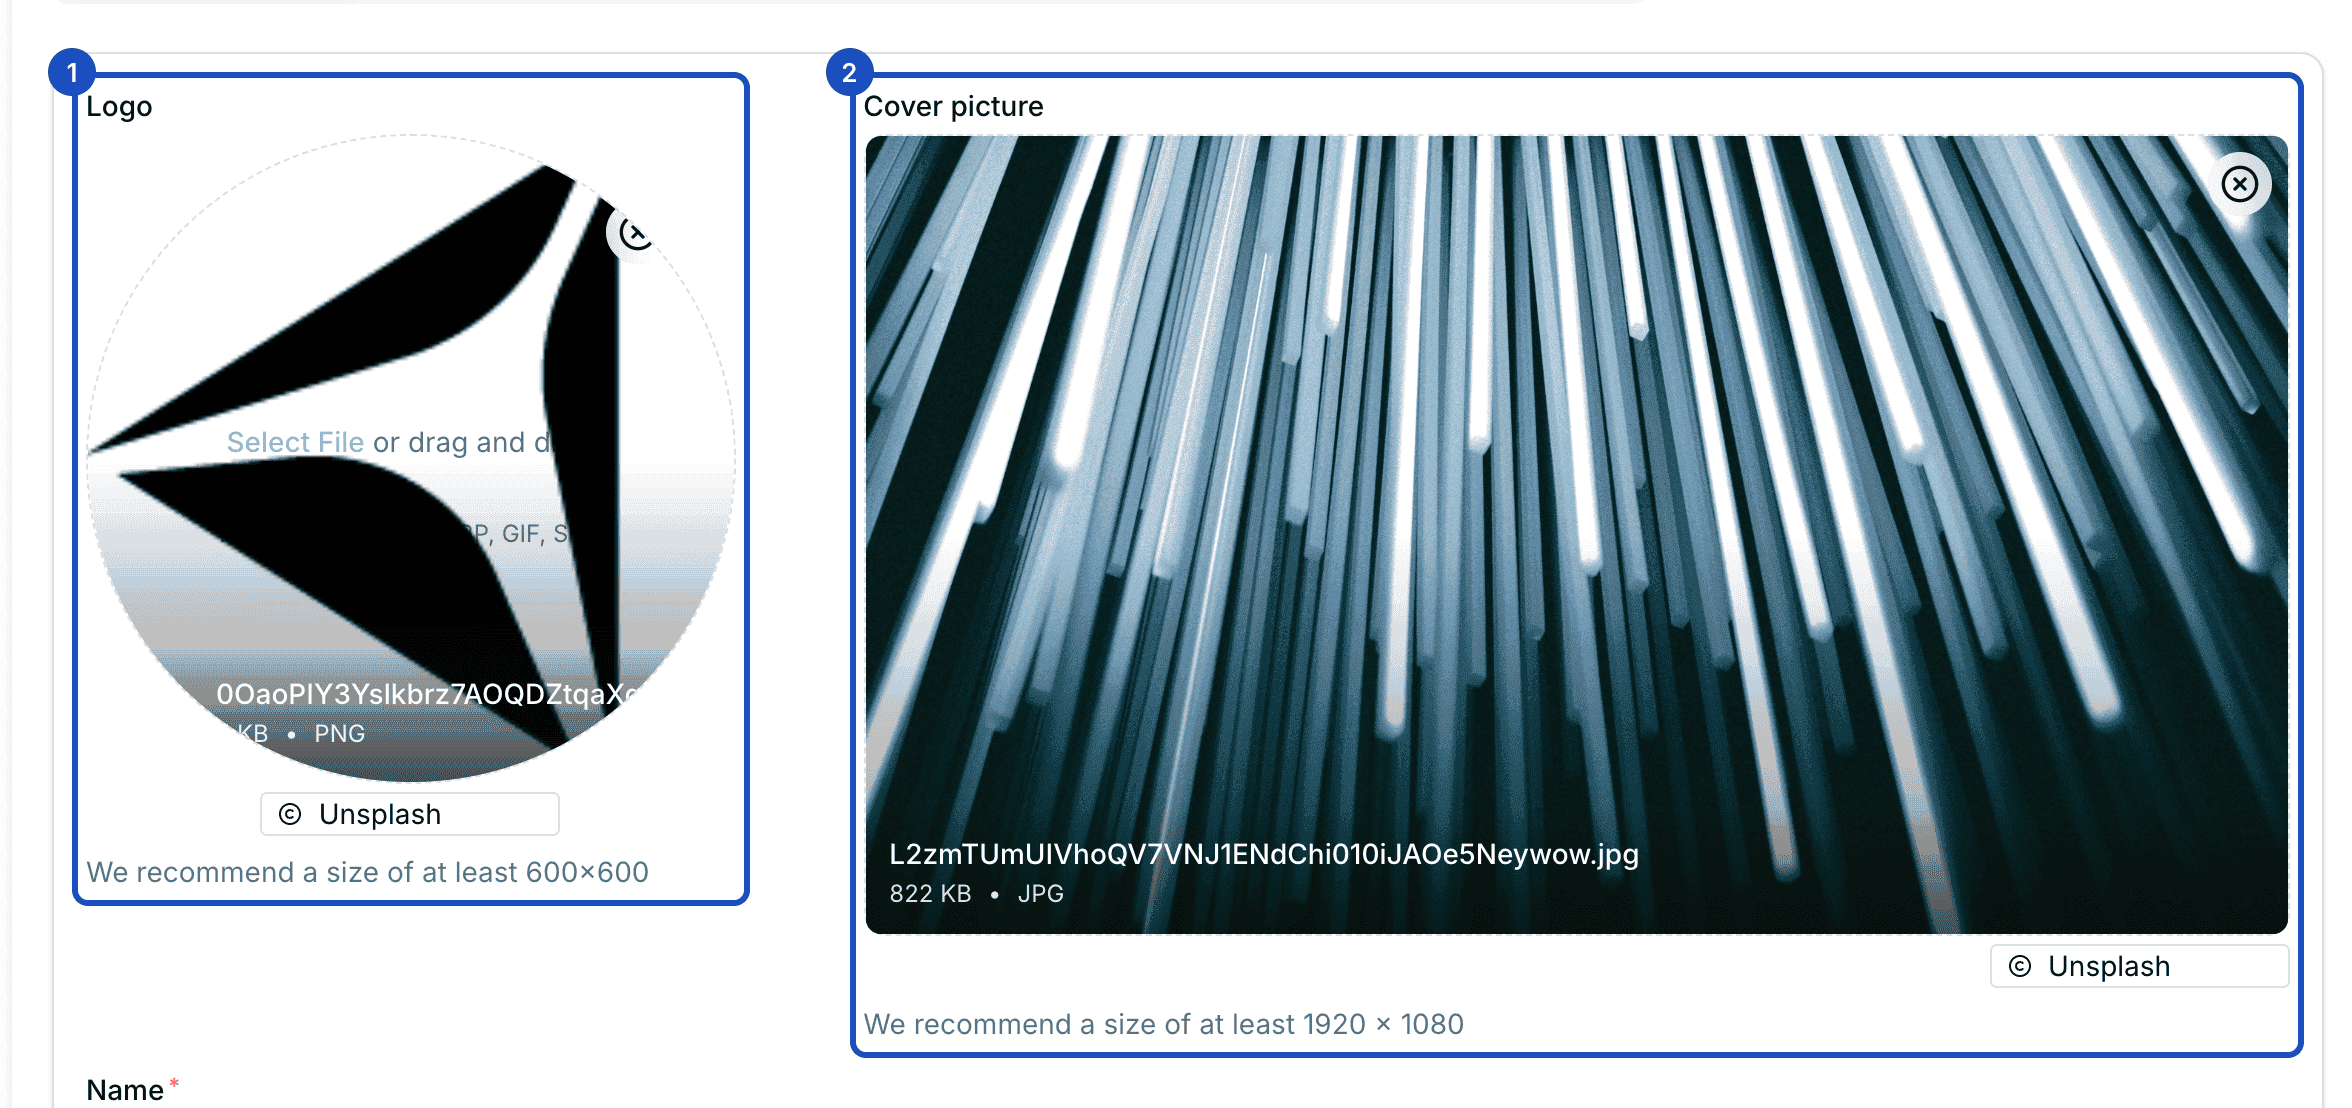
The cover picture sits large at the top of your shop page, with the logo in front. Enter the imprint details
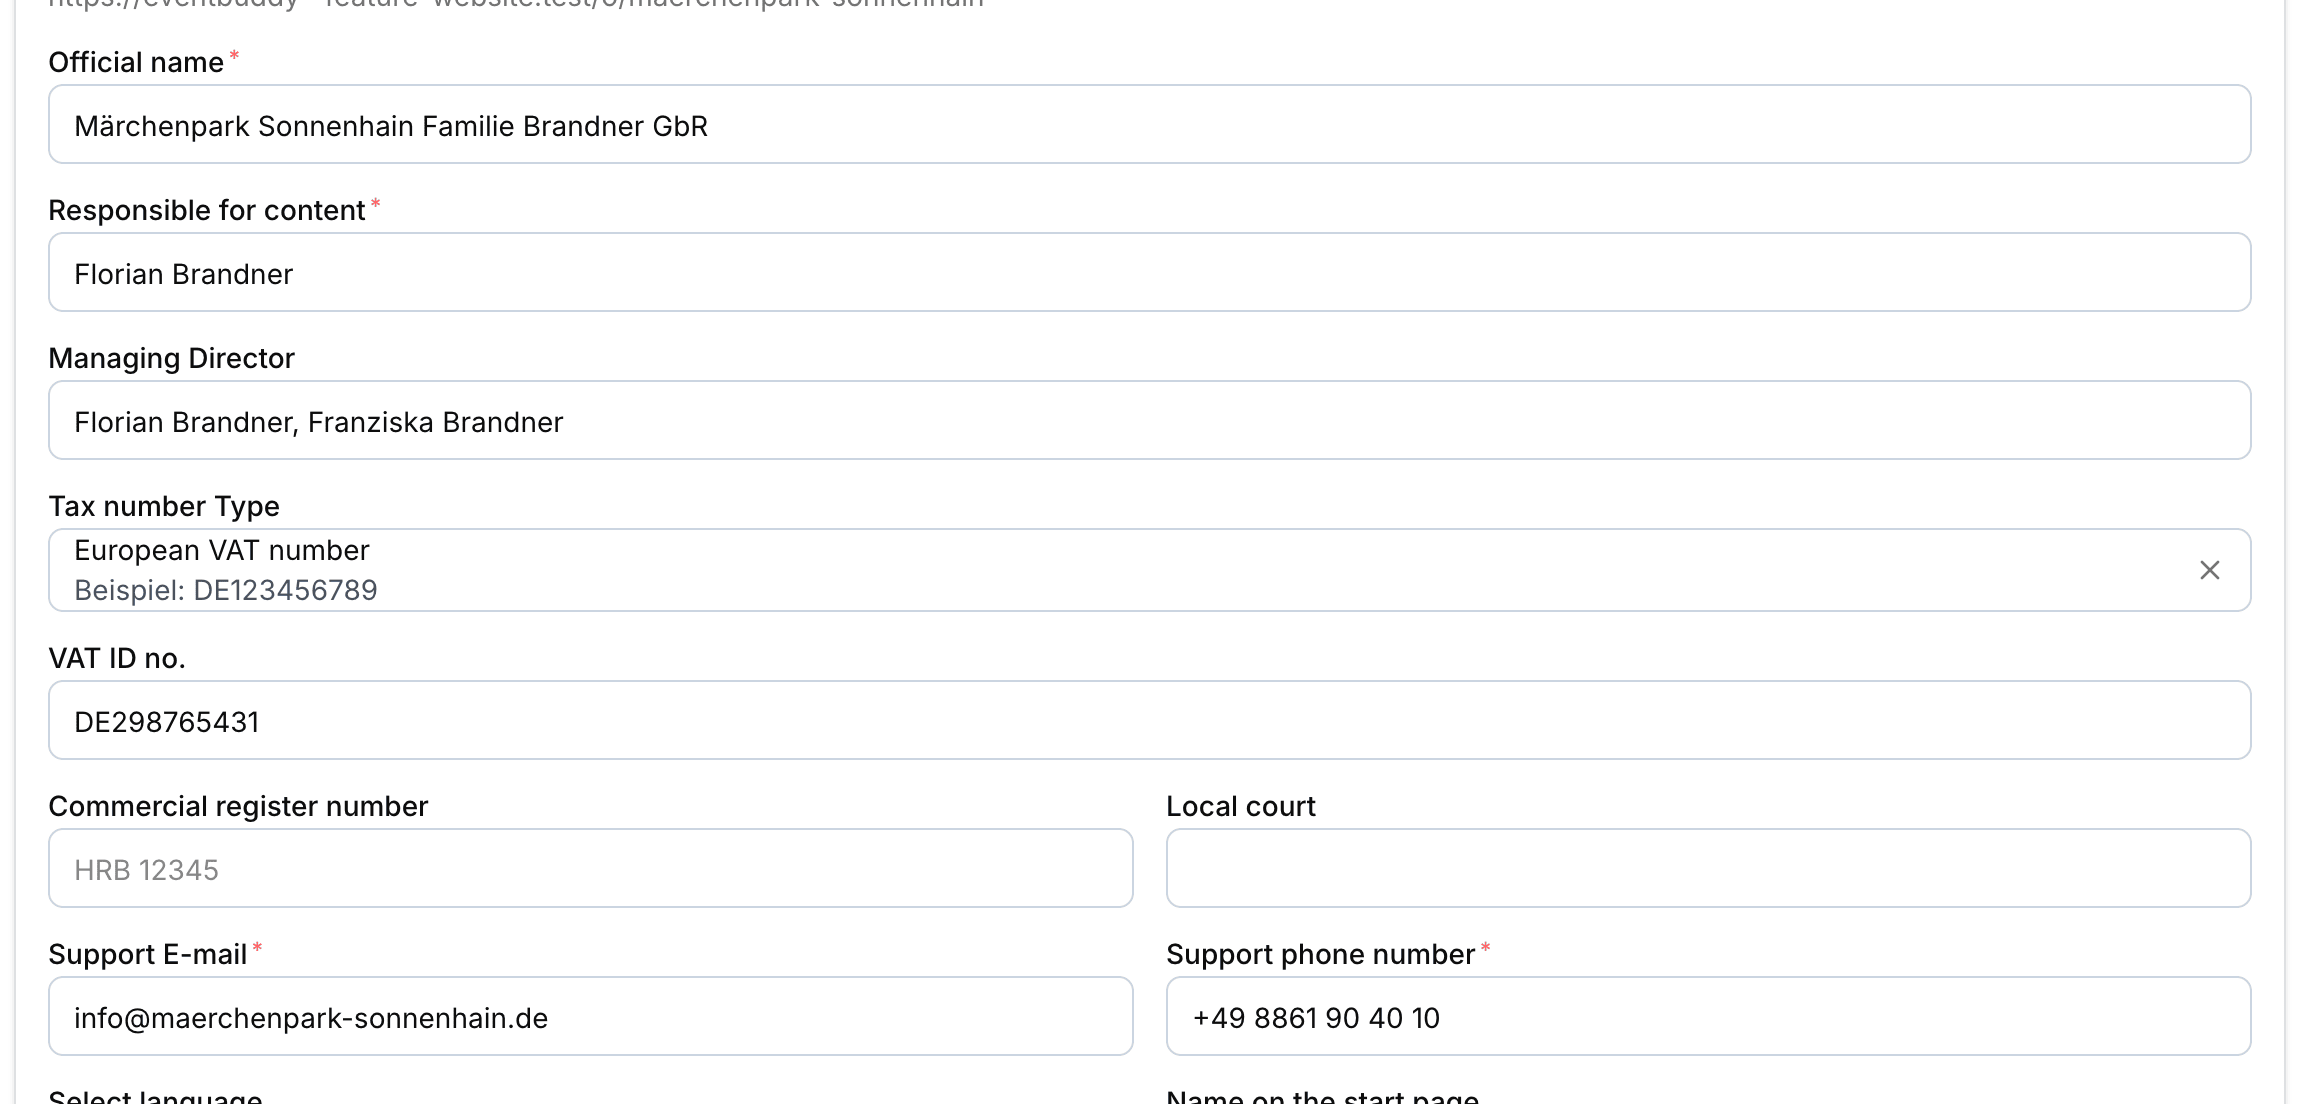
In the same tab, enter Official name, Responsible for content and Managing Director. Depending on the Tax number Type, you then enter the VAT ID no. or the Tax number, plus Commercial register number and Local court if you are in the commercial register. Support E-mail and Support phone number also appear in the imprint.
Description and store overview
Under Description, introduce yourself to your guests. The text appears on your shop page below the logo. With Store overview, you choose whether your shop lists All events or groups the events by Categories.
Enter the address
In the Address tab, enter Street and house number, Postal Code, City and Country. The address also appears in the imprint.
Save
Click Save. If a detail is missing anywhere, Eventbuddy shows a notice. Then check the other tabs too.
For search engines and social media
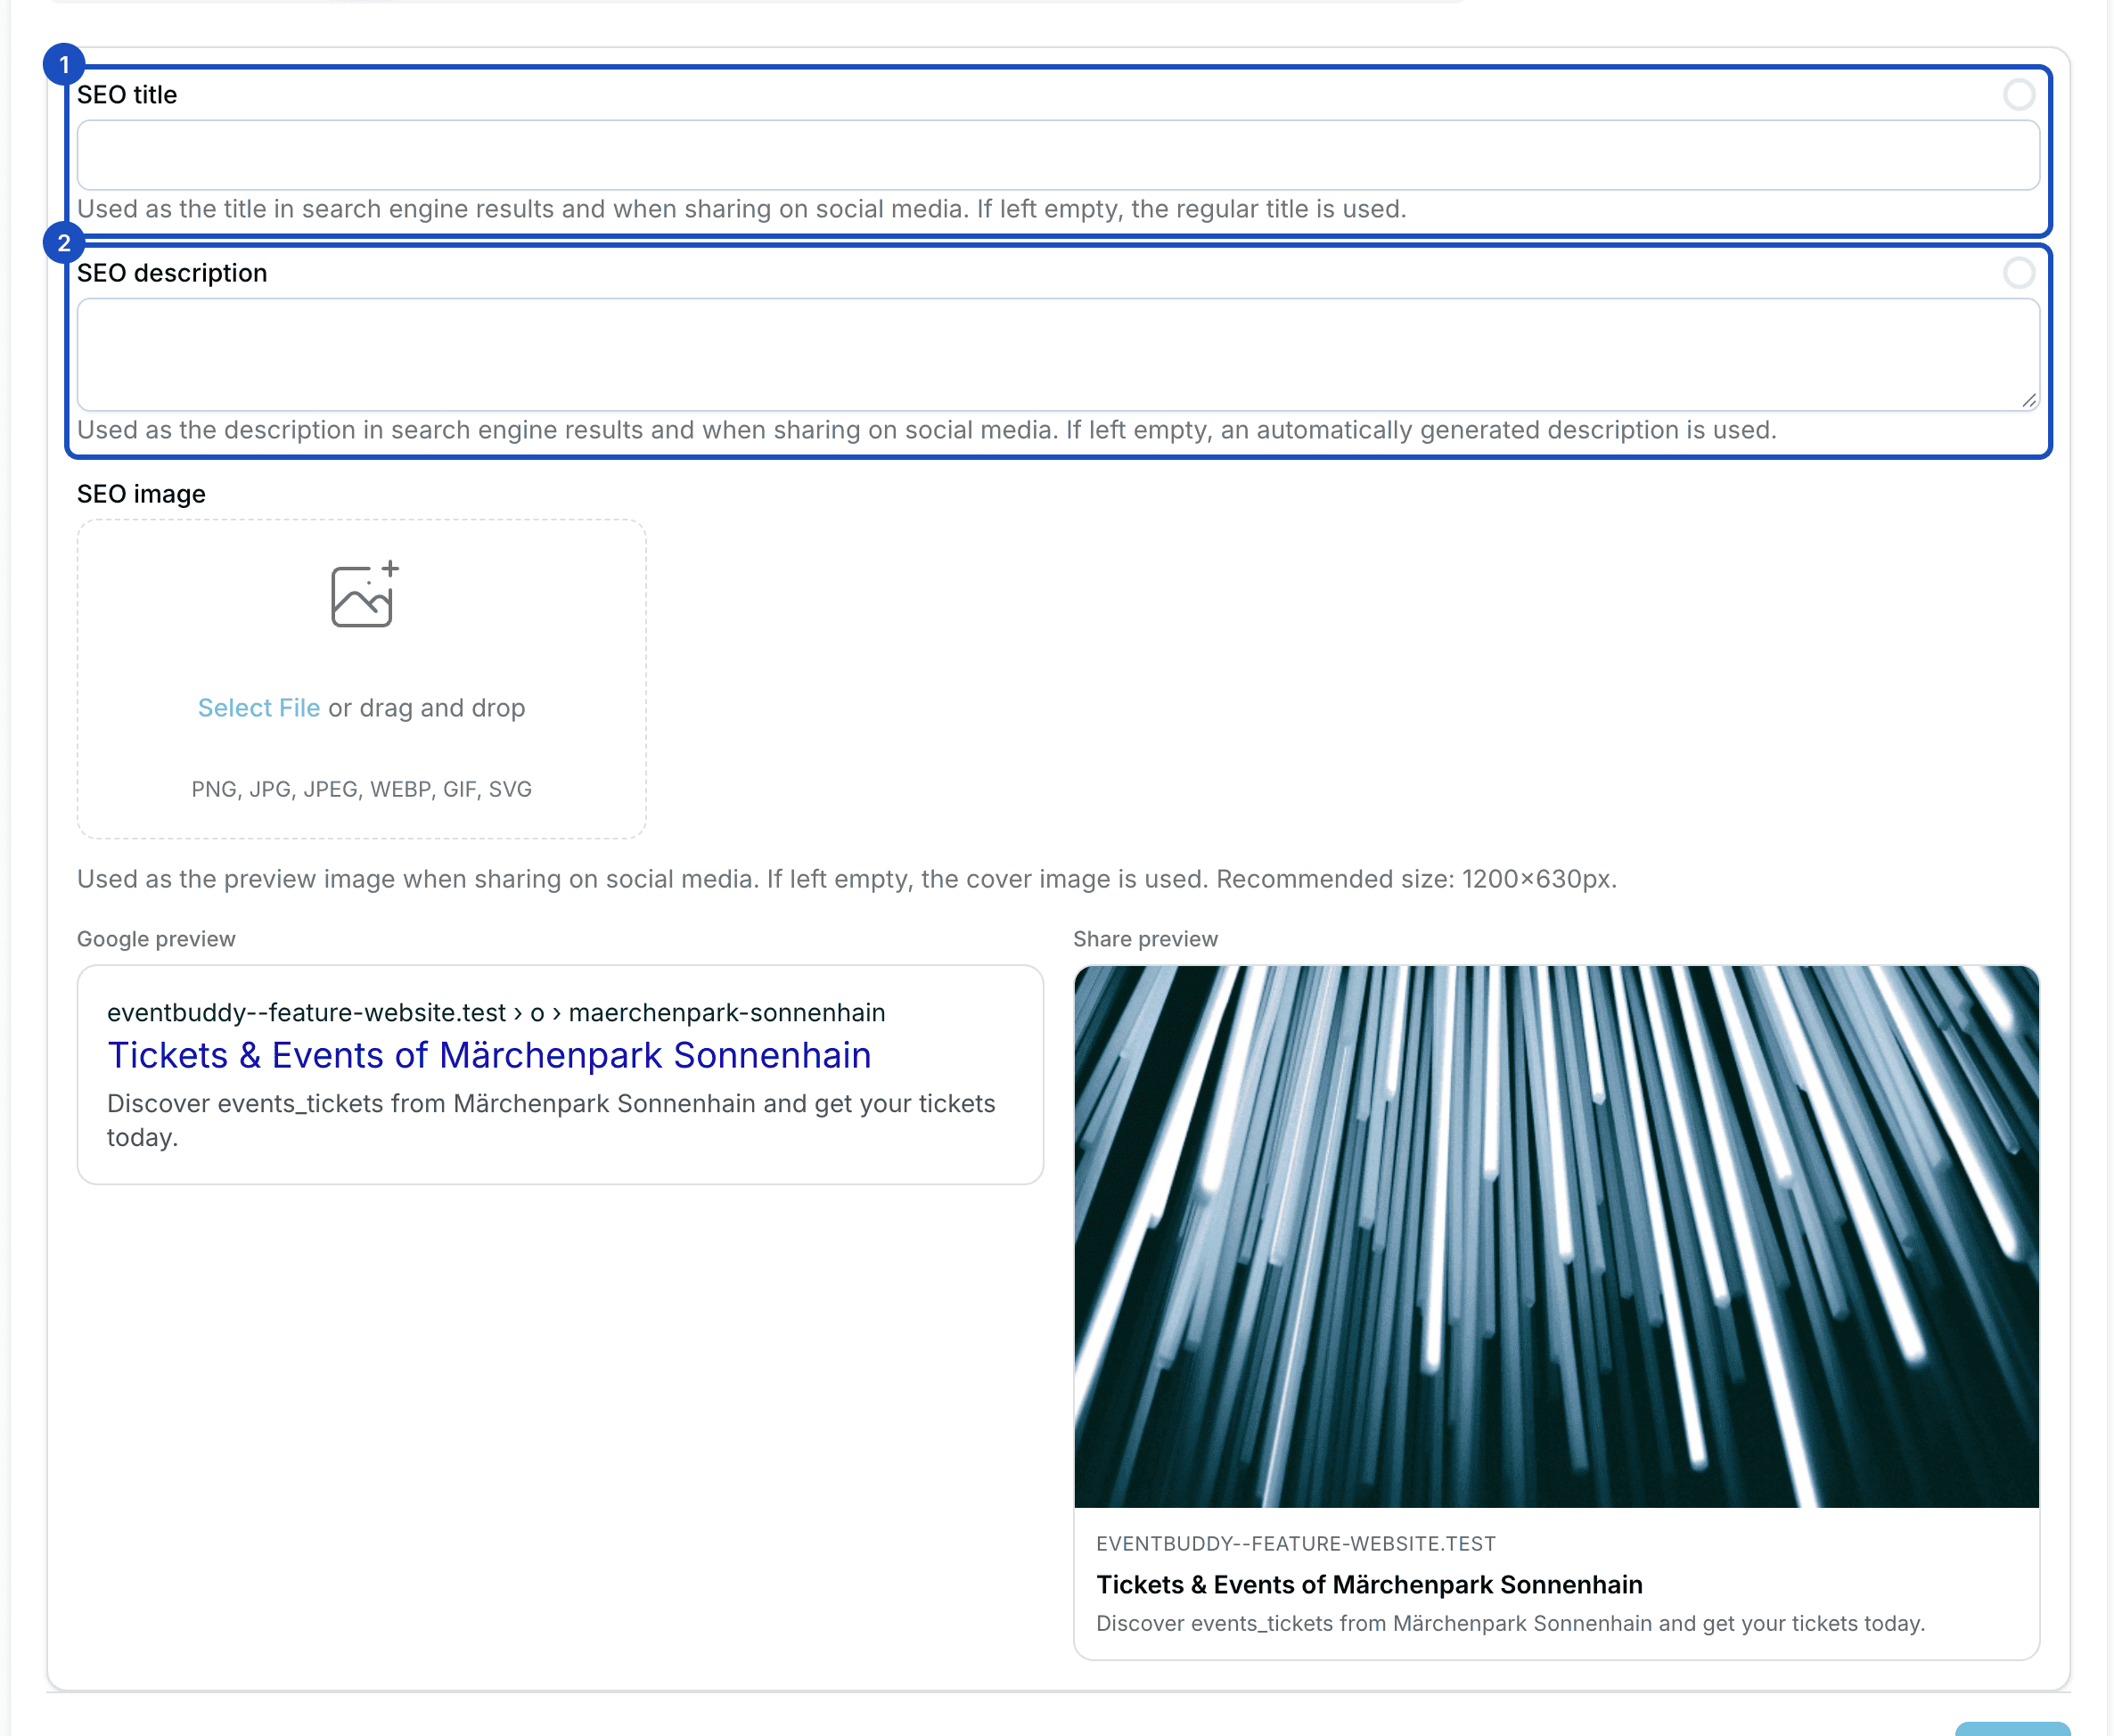
In the SEO tab, you decide how your shop page looks in Google and when shared. SEO title and SEO description replace the automatically generated text, SEO image replaces the cover picture as the preview image (1200 × 630 pixels recommended). If you leave the fields empty, Eventbuddy uses your name, description and cover picture. The preview shows you the result.
Good to know
Where do I enter my social media profiles?
In the Social tab. It has fields for Website, Facebook, Instagram, LinkedIn, X, Snapchat, YouTube and Vimeo. The profiles you fill in appear as icons on your shop page.
Can I use my own Google Analytics or Meta Pixel?
Yes. In the Tracking tab, enter your Google Analytics ID or your Facebook Pixel. Eventbuddy adds them to your shop.
Who may change the bank details?
Only the account owners. Other admins see the Bank Details tab but can't create or change anything there.